How do I perform a pre / post assessment?
Teachers can administer a pre and post assessment of student performance using the provided item bank for any SEPUP unit as a way to measure students’ growth. Each unit of SEPUP’s Issues and Science, 3rd Edition program comes with an item bank composed of a mixture of approximately 30 true/false, multiple choice, and short-answer questions. These item banks for each unit contain questions in a format similar to the state or district tests that many students take. The questions focus on key content and process skills in the unit, and questions requiring an extended response can be scored using SEPUP’s Scoring Guides where appropriate.
Below are the detailed steps to carry out this task.
1. Locate and assign pre test before implementing curriculum
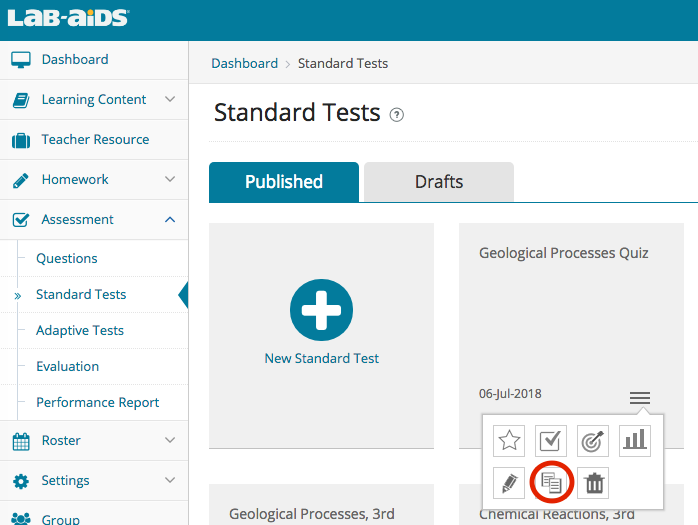
After logging into your teacher account, select Assessment >> Standard Tests from the left-hand side menu. Navigate or search to find the item bank for your particular unit.
After locating the test, click on the three-line icon in the bottom-right corner of the test. Select the Clone icon, as seen in the image below.
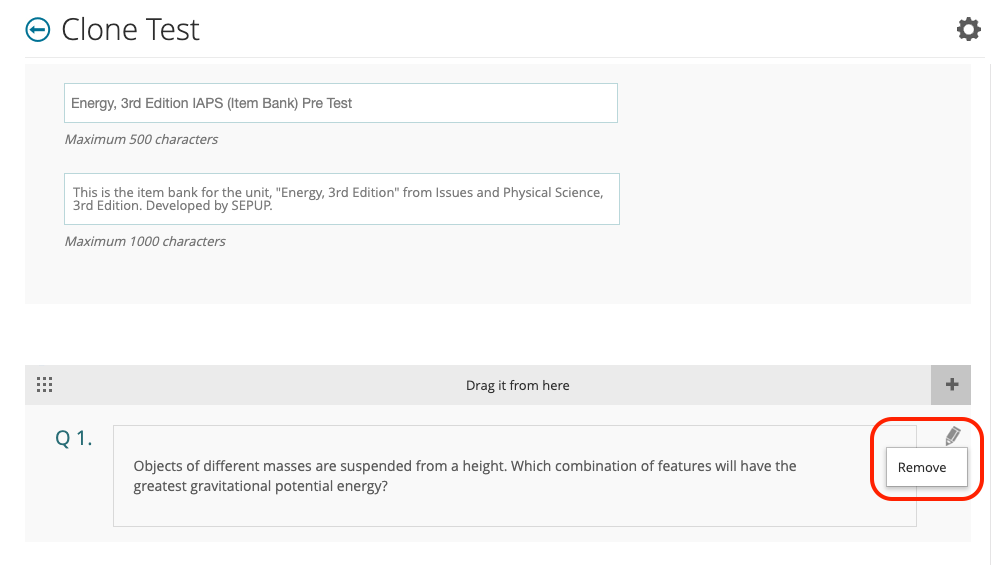
Enter a new title and description of this new test. Be sure to indicate in the title that this is a “Pre Test.” The original test will be preserved and remain unmodified; however, you can remove questions at your discretion from the new pre test at this point. To do so, click the pencil icon on the right-hand side of any question, then click Remove.
When done, click the Publish icon in the bottom-right corner.
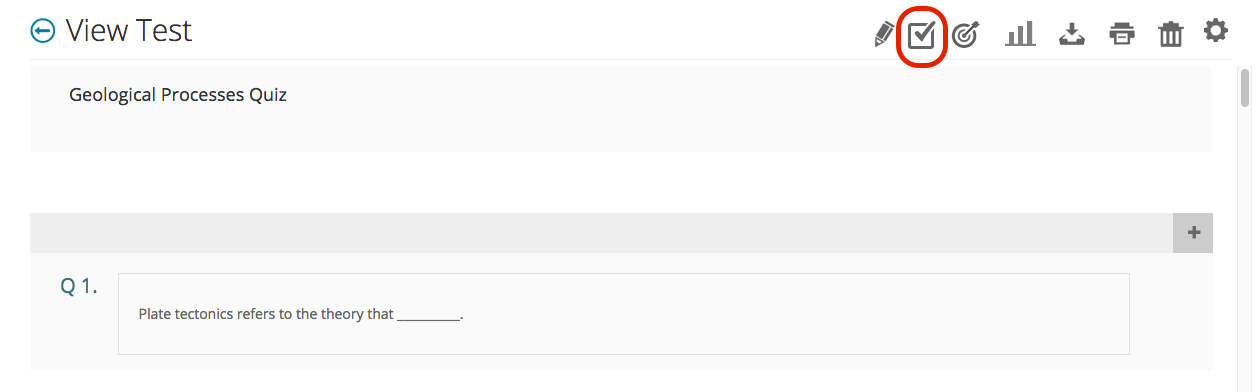
When ready to assign the pre test to your students, select Assessment >> Standard Tests from the left-hand side menu. Search or navigate to the pre test you previously created, then select the test. To assign the test to students, click on the checkmark icon from the array of icons on the top right.
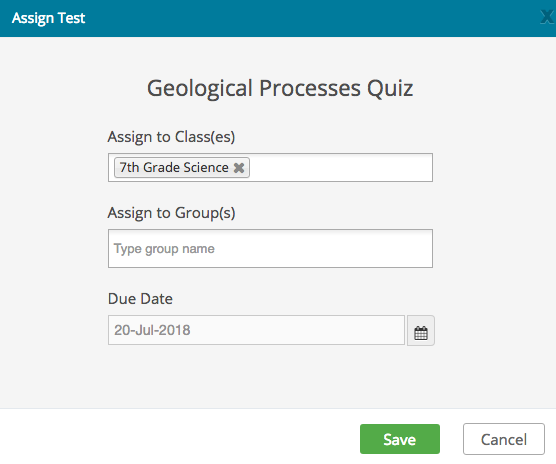
Next, you will be presented with a menu to choose which Class(es) or Group(s) should be assigned this assessment. Select the appropriate Class(es) or Group(s), then enter a due date and select Save when done.
Students will be notified that they have been assigned a test from within their Lab-Aids Portal account. Instruct students to complete and submit the pre test.
2. Score and evaluate pre test
Once students have completed and submitted the pre test, you can begin to evaluate and score questions. True/false and multiple choice questions will be scored automatically, while short-answer questions must be scored manually.
From your teacher account, select Assessment >> Evaluation. Find the pre test and click on the title.
Click on Pending Evaluation, which will list all of the students (from all Classes and Groups) that have completed and submitted the pre test. Click the Evaluate button on the right-hand side to score that student’s responses.
You will be shown that student’s responses to all questions. True/False and multiple choice questions will be automatically scored for you, but you can provide additional feedback in the Enter Feedback text box if desired. Scroll down to find the free response questions that need to be scored.
Answers to all questions can be found in the Teacher Edition, or by clicking Show Teacher Hint at the bottom of each short-answer question. These responses are considered to be “level-4 exemplars” using the SEPUP Scoring Guides. Using the appropriate Scoring Guide, you can score student responses accordingly. Since each question on the assessment is worth a total of 1 point, we suggest that you award the following points:
For more information on scoring items and assessment moderation, please see Section III: Assessment in the Teacher Resources.
Once all necessary questions have been scored and feedback has been provided (if necessary), select Submit to save this student’s score. This also notifies the student of his/her score and feedback.
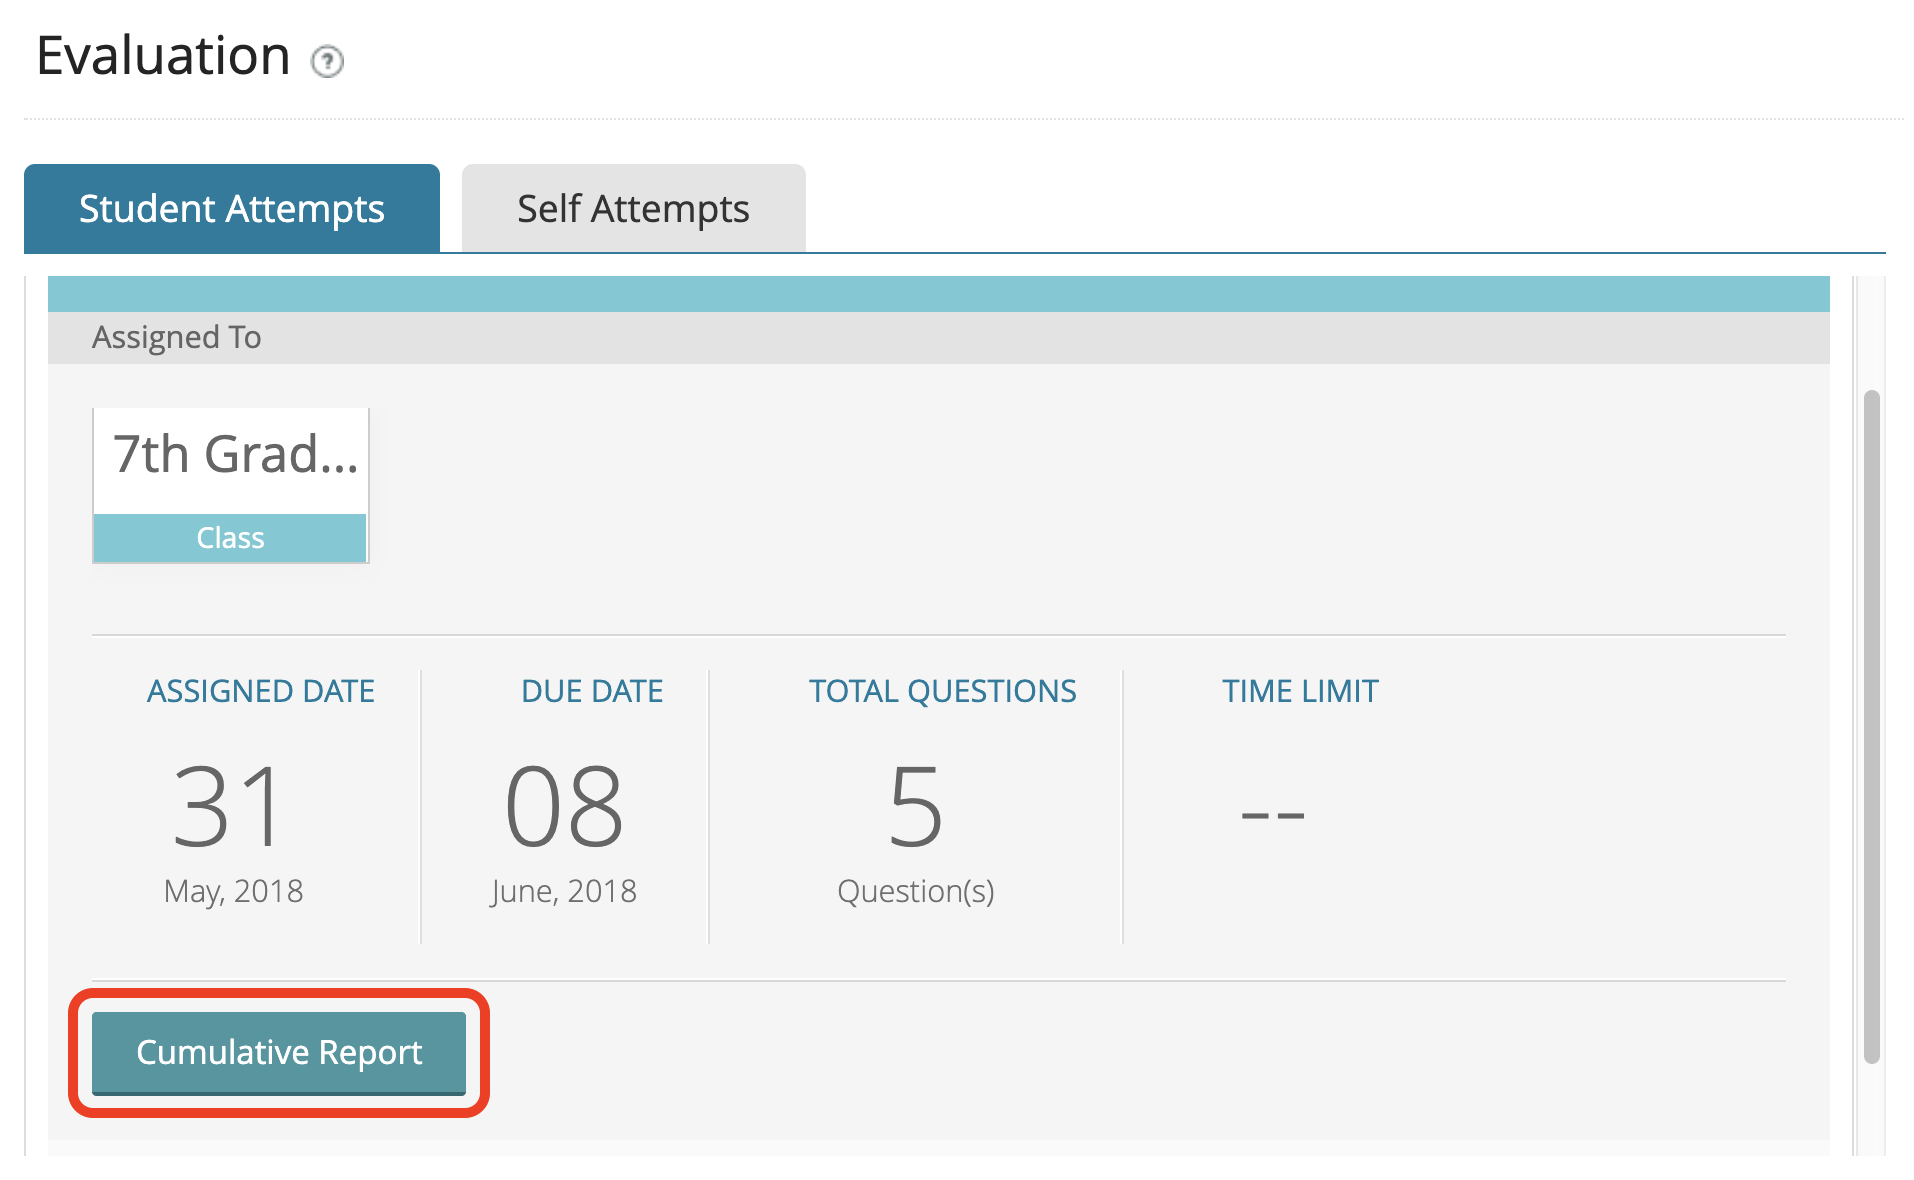
Continue to evaluate each students’ responses until completed. Once all students have been evaluated, select Assessment >> Evaluation and click on the pre test. From this summary menu, select Cumulative Report.
This will provide an overview of how students performed individually and collectively on the pretest. If you assigned the pre test to multiple Classes or Groups, you can view that subset of students by selecting the Class/Group from the drop down menu in the top-right corner, then selecting View Report.
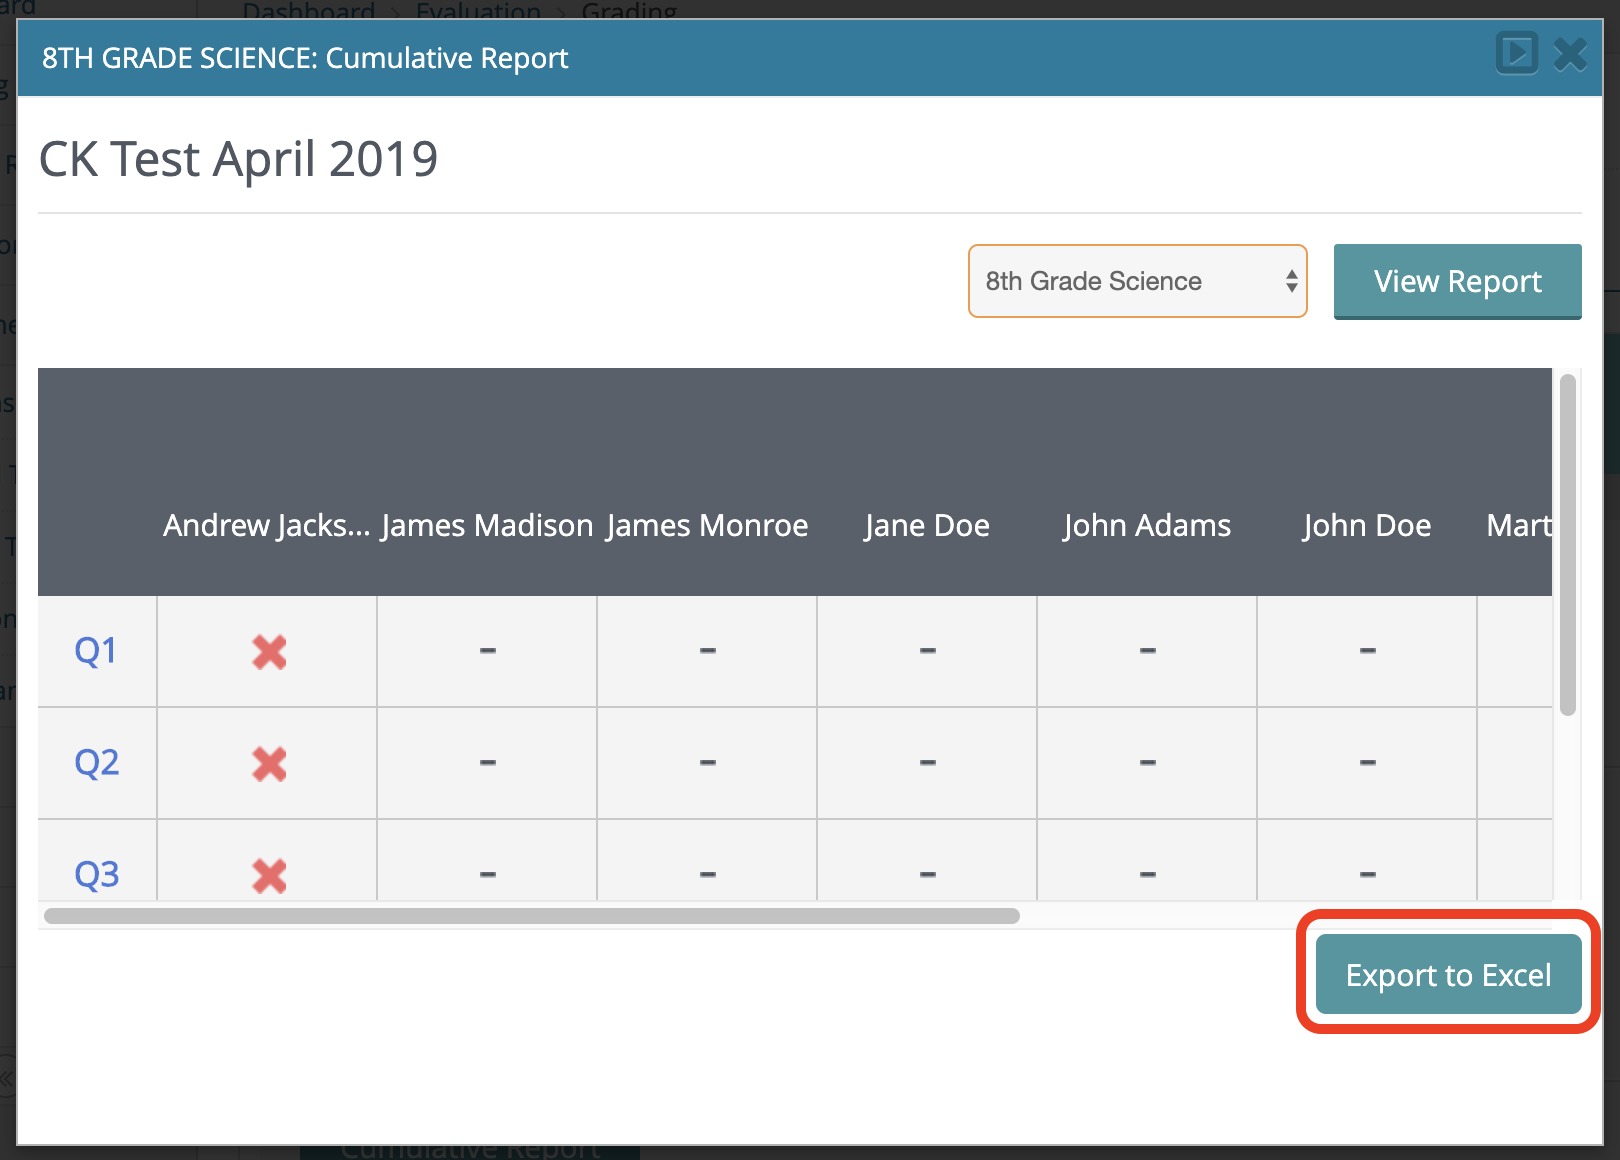
Click the Export to Excel button to export this data. Save this file, as you will need it at the completion of the unit to compare it to the post test.
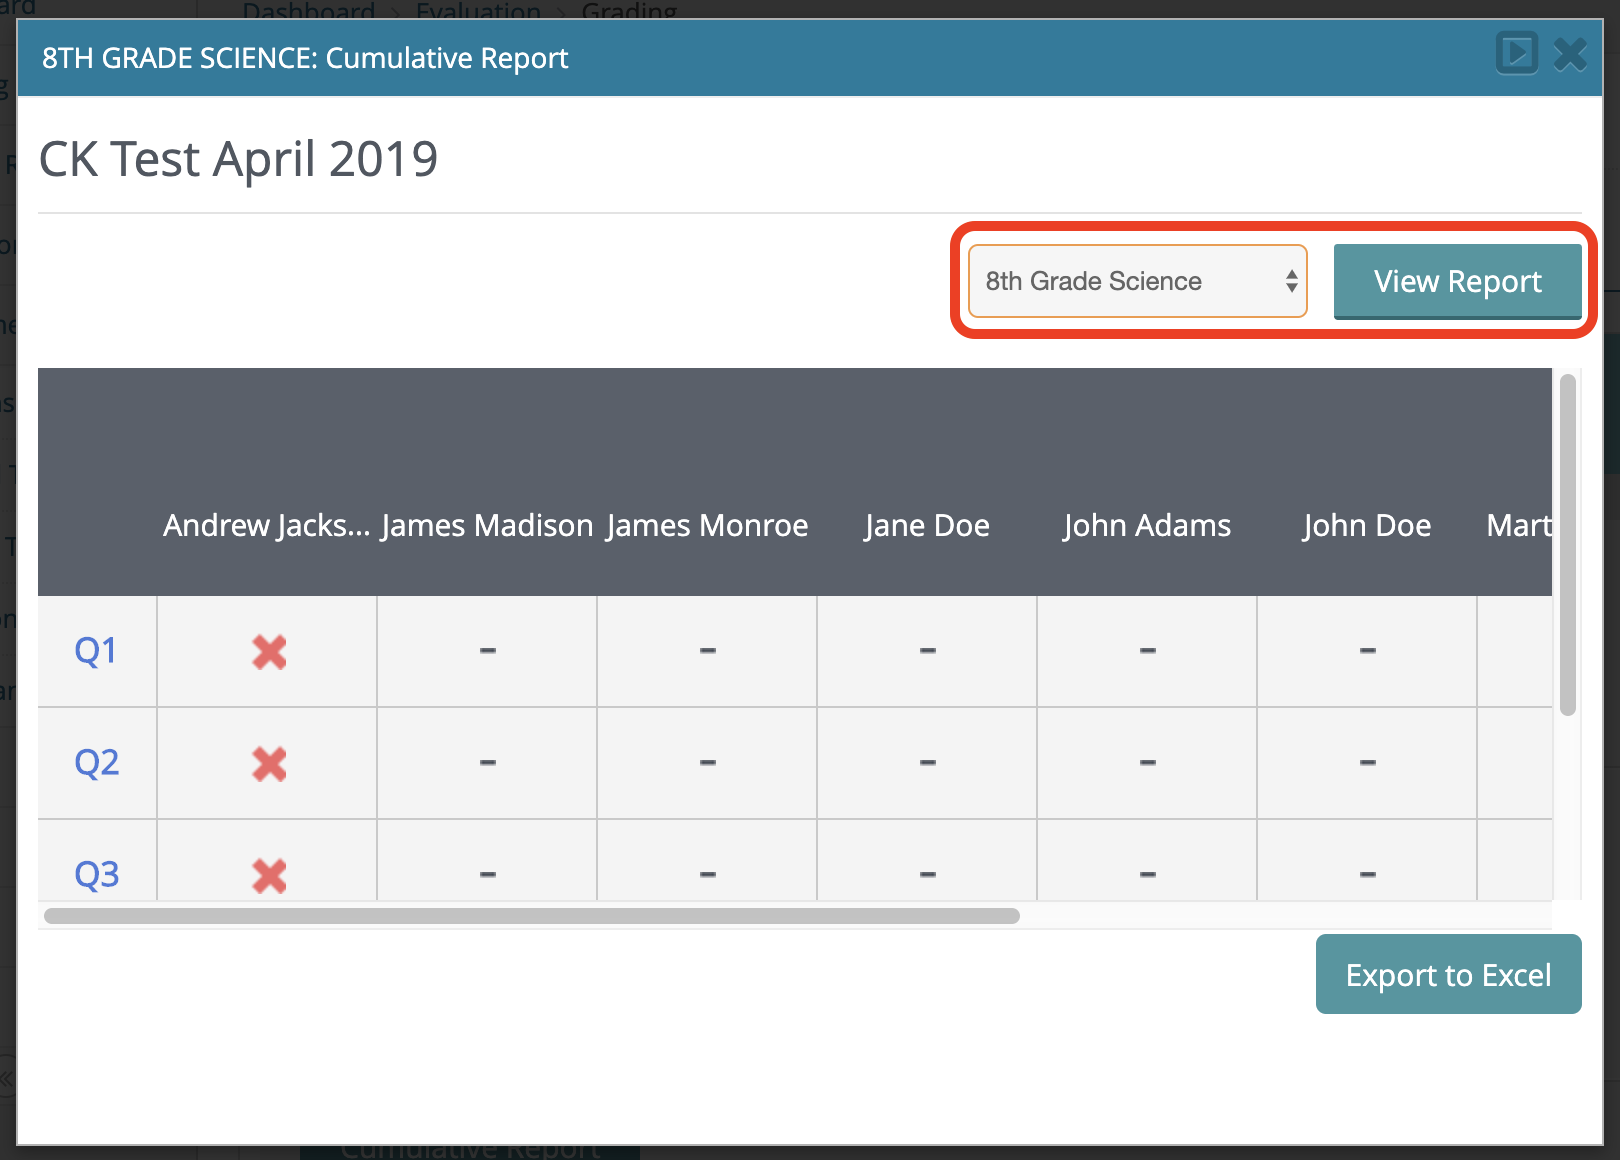
Export the file for each Class/Group that you assigned the pre test to by selecting each Class/Group from the drop down menu, click View Report, and then click Export to Excel.
3. Assign post test after implementing curriculum
Once the curriculum unit has been completed, you can assign an identical post test to your students. To do so, log into your teacher account and select Assessment >> Standard Tests from the left-hand side menu. Navigate or search to find the pre test that you assigned earlier.
After locating the test, click on the three-line icon in the bottom-right corner of the test. Select the Clone icon, as seen in the image below.
Enter a new title and description of this new test. Be sure to indicate in the title that this is a “Post Test.” The original pre test will be preserved and remain unmodified. Do not remove or add any questions, since we want the two tests to be identical to each other. When done, click the Publish icon in the bottom-right corner.
When ready to assign the test to your students, select Assessment >> Standard Tests from the left-hand side menu. Search or navigate to the post test you previously created. To assign the post test to students, click on the checkmark icon from the array of icons on the top right.
Next, you will be presented with a menu to choose which Class(es) or Group(s) you wish to assign this assessment. Select the same Class(es) or Group(s) to which you previously assigned the pre test. Enter a due date and select Save when done.
Students will be notified that they have been assigned a test from within their Lab-Aids Portal account. Instruct students to complete and submit the post test.
4. Score and evaluate post test
Once students have completed and submitted the post test, you can begin to evaluate and score items. True/false and multiple choice questions will be scored automatically, while short-answer questions must be scored manually. Refer to Step #2 above on how to evaluate and score the post test. Be sure to export the Cumulative Report for the post test, as you have done with the pre test.
5. Compare pre and post tests
To summarize, you have given the same test to students both before and after implementing this particular curriculum unit with your students. You can compare the pre and post test results to see the growth on each question and cumulatively on the entire test. Below is the pre/post test analysis spreadsheet that you can use to easily calculate and present growth on each question and a Class/Group average.
Click on the link below to access the Google Spreadsheet (you will need access to a Google Account):
Google Spreadsheet
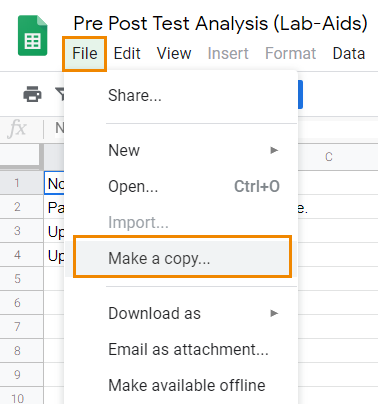
Once you access the Google Spreadsheet, select File >> Make a copy... This will make a copy available to you for editing within your Google account.
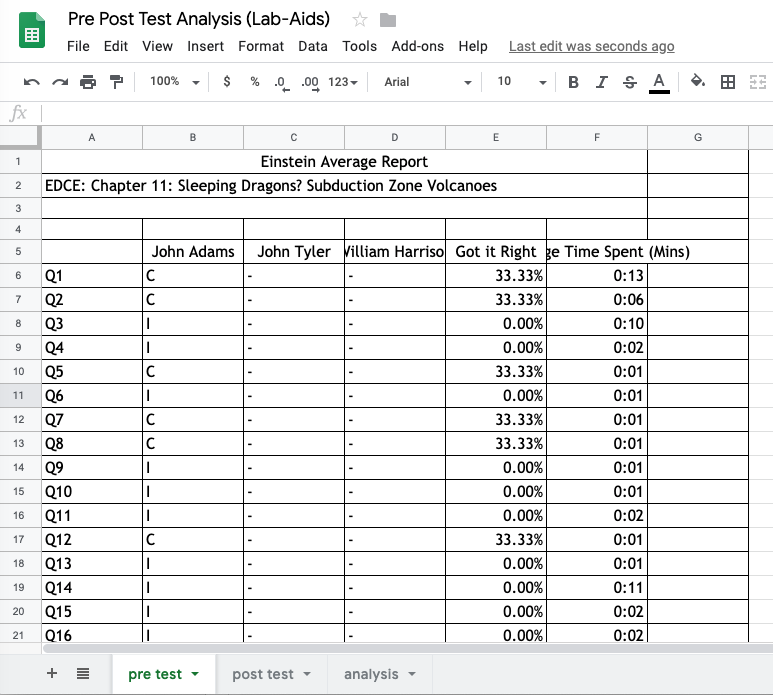
Open up the pre test report (.xlsx file) that you previously downloaded. This file contains the scores of each student on each question. Copy the entire sheet of data, and paste it in the "pre test" tab in the Pre Post Test Analysis spreadsheet.
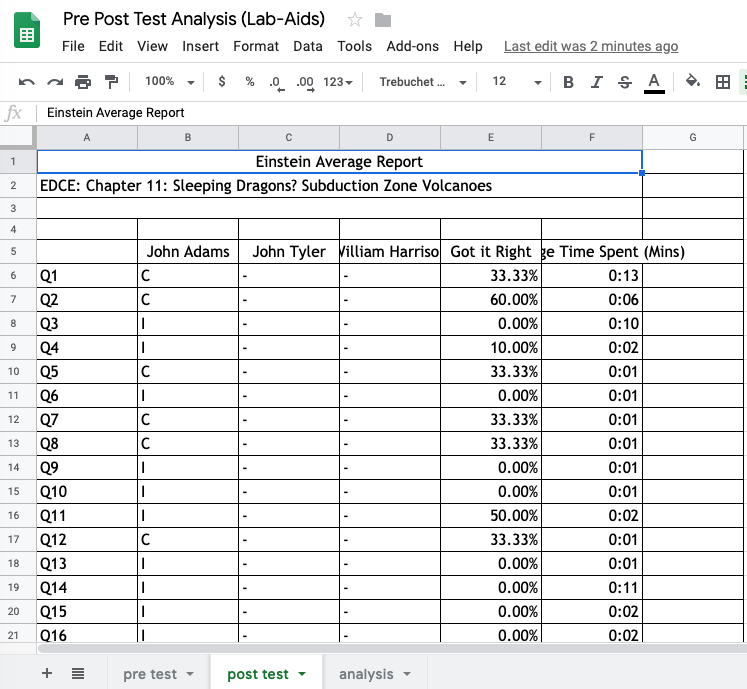
Open up the post test report (.xlsx file) that you previously downloaded. Again, copy the entire sheet of data, and paste it in the "post test" tab in the Pre Post test Analysis spreadsheet.
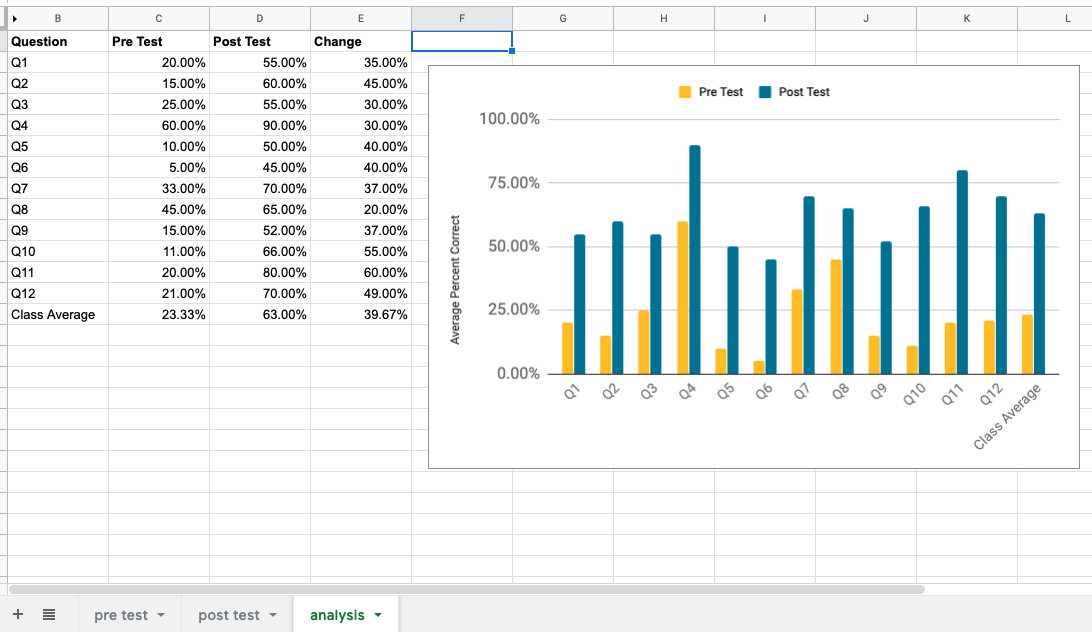
The third tab in the Pre Post Test Analysis spreadsheet ("analysis") will summarize the results of both the pre test and post test, calculate the change in average class score, and create a chart that visually shows your Class/Group's results. You will need to perform these steps for each Class/Group to which you assigned the pre/post test. Download or access a new copy of the spreadsheet and perform these steps for each Class/Group.