My Uploads / Shared Files
The "My Uploads" / "Shared Files" feature allows teachers to share their own resources with students. Examples include: website links, powerpoints, PDFs, Word documents, links to student books, images, etc.
How to share your own files with students:
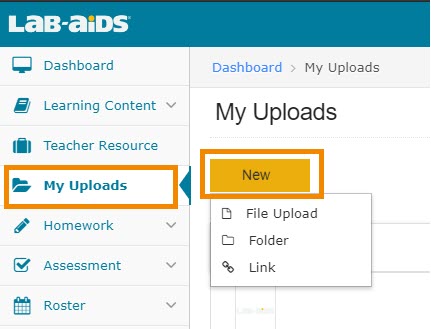
1. Click on "My Uploads" on the left menu. Click "New".
2. Select whether you want to upload a file, folder or link.
File: Upload a new file (doc, docx, xls, xlsx, ppt, pptx, pdf)
-
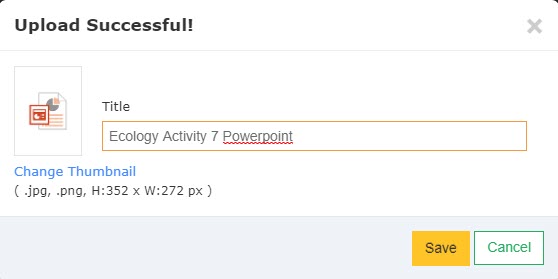
Select the file you want to share. Max 1 GB.
-
Once upload completes, you'll want to modify the name of the file. You also have the option to customize the thumbnail of the file by choosing an image from your computer.
Folder: Creates a folder in your "My Uploads" page. This folder is just for the organization of your files; this folder does not appear in students' accounts.
Link: Upload an external link or a link to a page in a student book. Click here for more instructions on obtaining the link to a specific page in a student book.
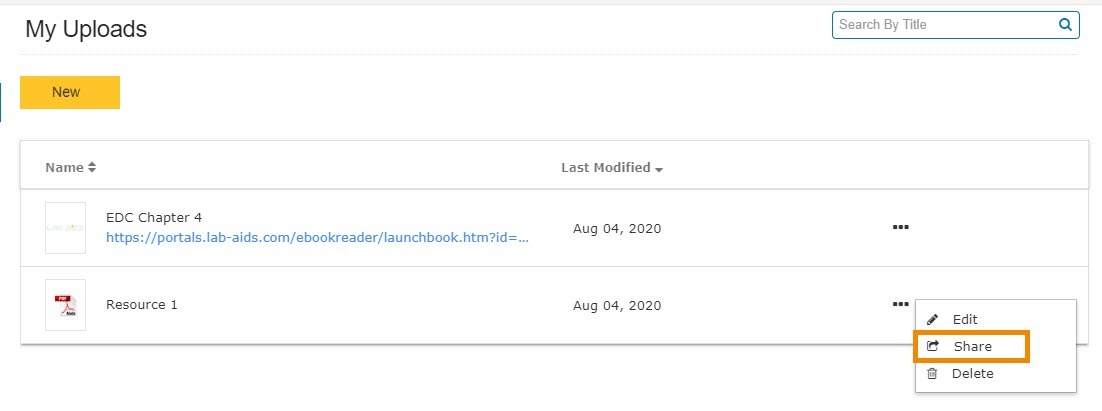
3. Once the document is uploaded, click the three dots to the right of the document and click "Share".
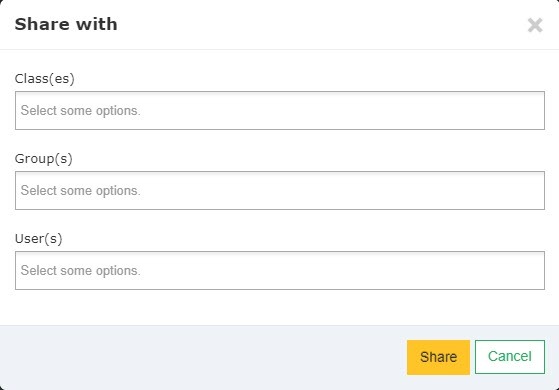
4. Select the class(es), student(s), or individual user(s) with whom you'd like to share the file.
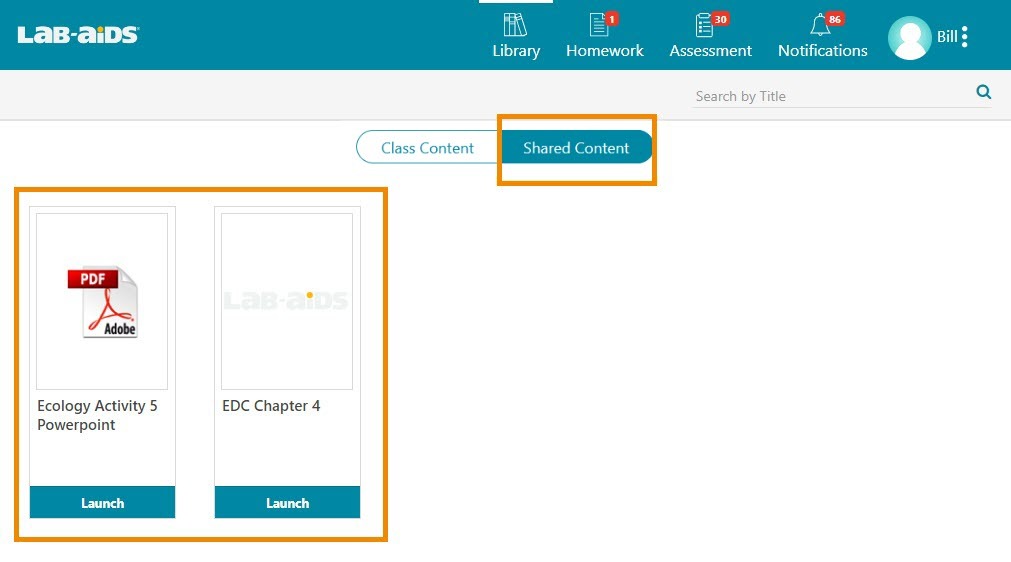
Once the document is shared, students can log into their accounts and click on "Shared Content" to be able to view files shared with them. Students will also receive a notification in their notification tab that a new file has been shared with them.